The "Correct" Exposure of Film
- Author Michael Elliott
- Published September 6, 2023
- Word count 2,306
Or why getting it right in camera isn't the be all and end all.
Michael Elliott --- Fine Art Film Photographer-Flâneur and Londoner at Large
This was inspired by my answer to the following Quora question:
Film photography is a fascinating and rewarding hobby, but it can also be challenging and frustrating at times. One of the most common sources of confusion and anxiety for film photographers is how to expose their film correctly. Unlike digital photography, where you can instantly check your exposure on the LCD screen and adjust it accordingly, film photography requires a more careful and deliberate approach. You have to rely on your light meter, your experience, and your intuition to estimate the correct exposure settings for your film and your scene. And even then, you won't know for sure if you got it right until you develop and scan your film.
But what does it mean to expose film correctly? And how do different types of film react to different levels of exposure? And what if you make a mistake and overexpose or underexpose your film? Is there a way to fix it or even use it to your advantage? In this article, we will try to answer these questions and more, by exploring the principles of exposing black and white, colour negative, and colour slide film. We will also look at how development of film can compensate for exposure errors, and how you can use a combination of overexposure or underexposure and compensated development to achieve specific artistic effects.
Black and White Film
Black and white film is the simplest and most versatile type of film when it comes to exposure. It consists of a single layer of silver halide crystals that are sensitive to light. When the film is exposed to light, some of the crystals are converted into metallic silver, forming a latent image that is later developed into a visible image. The more light that reaches the film, the more silver is formed, and the darker the image becomes. Conversely, the less light that reaches the film, the less silver is formed, and the lighter the image becomes.
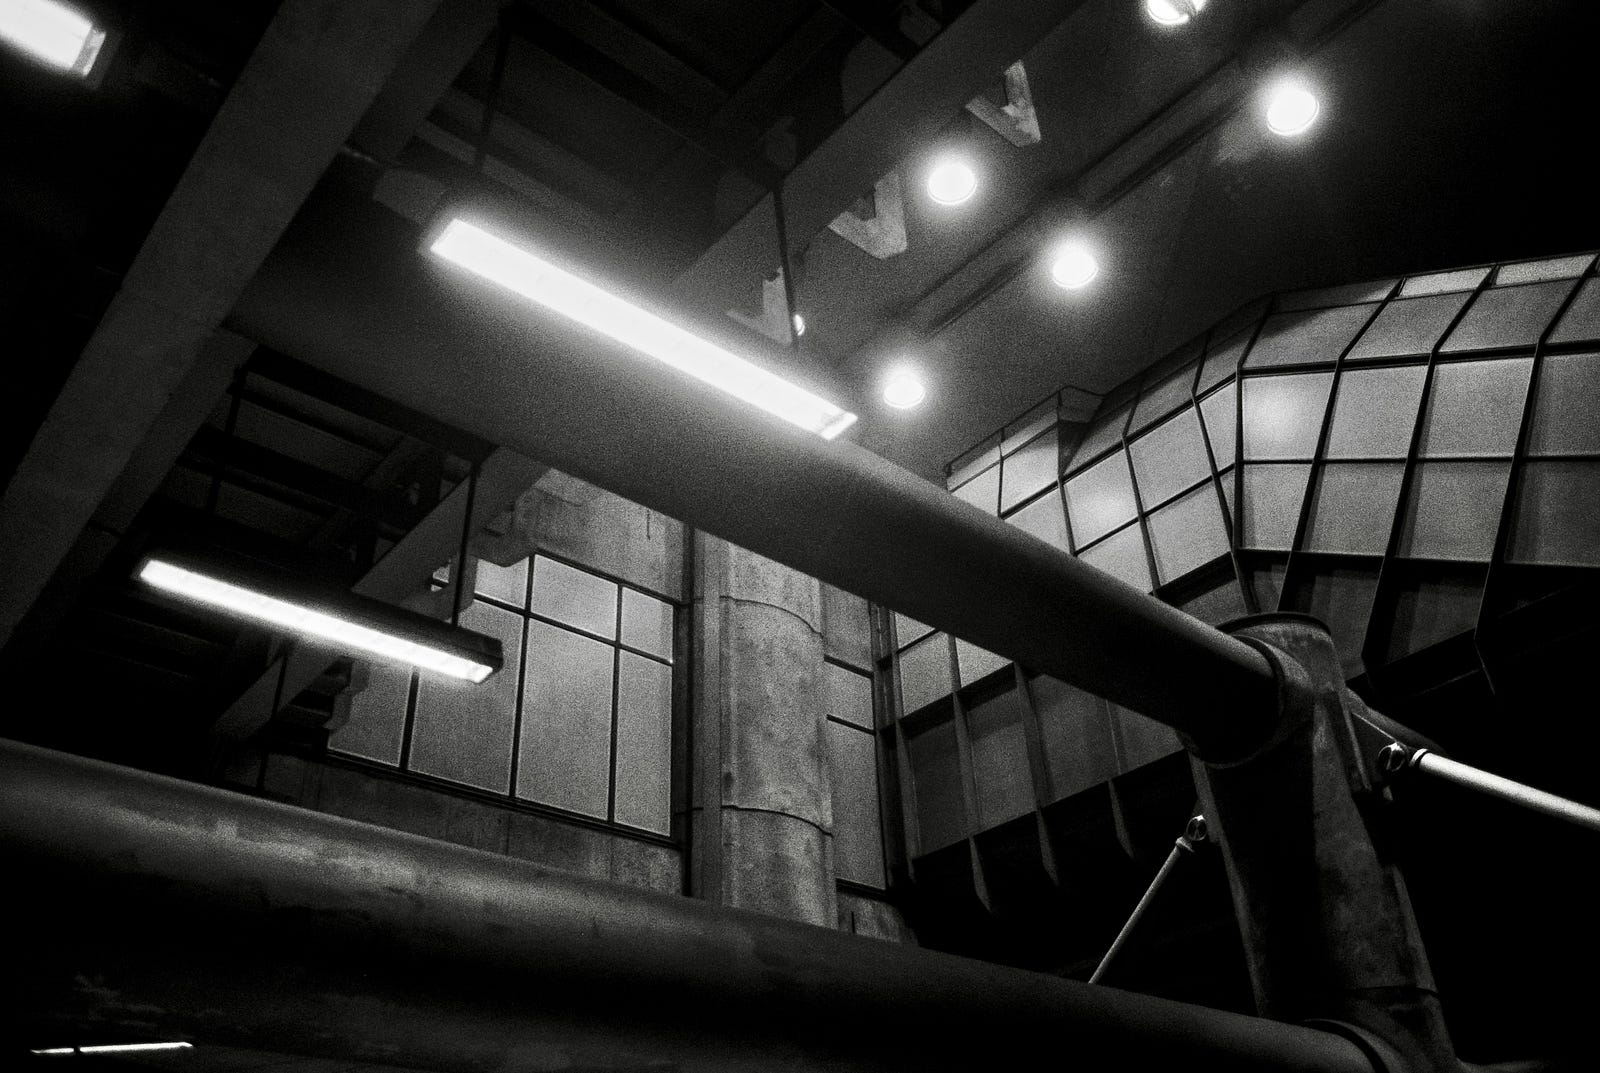
An example of pushing Rollei Paul and Reinhold (ISO 640) to 1600 (roughly 1 2/3 stops). Though shadow detail is minimal, there are still shadows that can be pulled out of the image. Photo credit: Michael Elliott
Black and white film has a wide exposure latitude, which means that it can tolerate some degree of overexposure or underexposure without losing too much detail or tonality. In fact, a large number of photographers deliberately overexpose or underexpose their black and white film to achieve certain effects. For example, overexposing black and white film can result in a low-contrast image with soft tones and smooth transitions. Underexposing black and white film can result in a high-contrast image with harsh tones and sharp edges.
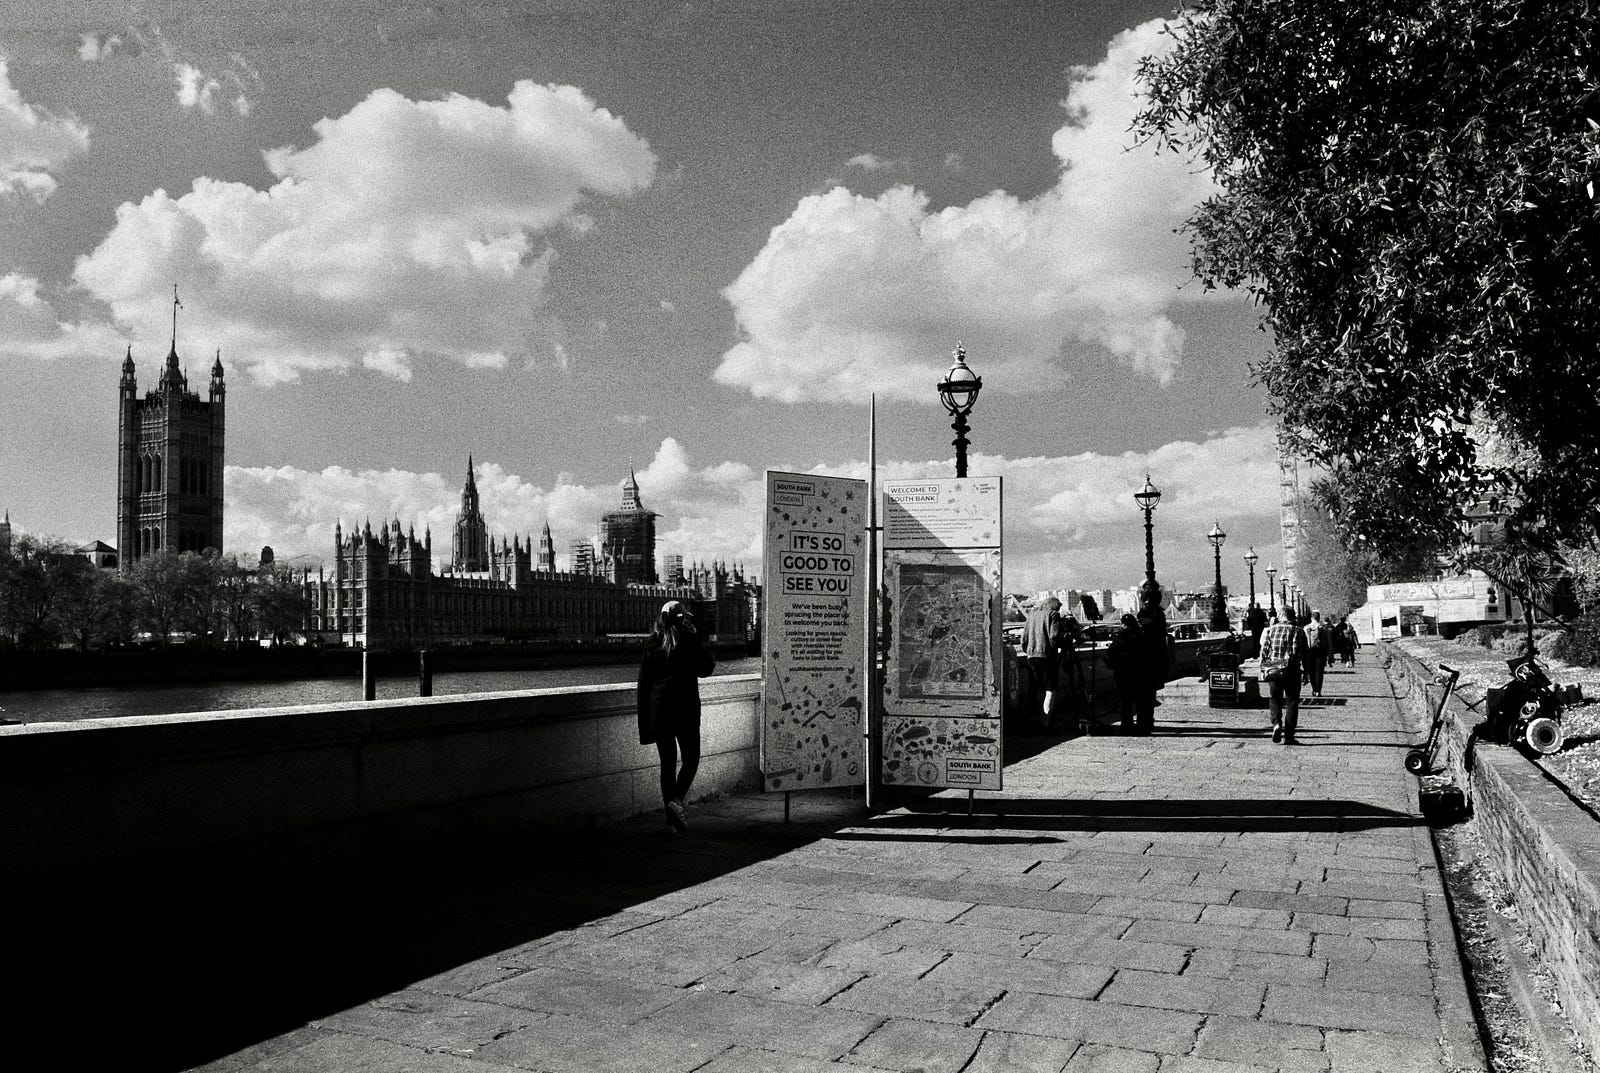
Fuji Neopan 400 pushed to 1600. Shadow detail is almost non-existent. Even though this was in broad daylight, I had an orange filter and polariser on, and to achieve the necessary depth of field with a reasonable shutter speed, I had to use a higher EI than the box speed. Photo credit: Michael Elliott
However, overexposing or underexposing black and white film is not enough to achieve these effects. You also need to adjust the development time accordingly. This is where the concept of compensated development comes in. Compensated development is a technique that involves changing the development time based on the exposure level of the film. The general rule is: overdevelop underexposed film and underdevelop overexposed film. This way, you can balance out the exposure errors and bring back some detail and tonality to your image.
For example, if you underexpose your black and white film by one stop (i.e., half the amount of light needed for a correct exposure), you can compensate by increasing the development time by 20%. This will increase the density of your negative and make it darker, bringing out some shadow detail that would otherwise be lost. If you overexpose your black and white film by one stop (i.e., double the amount of light needed for a correct exposure), you can compensate by decreasing the development time by 20%. This will decrease the density of your negative and make it lighter, preserving some highlight detail that would otherwise be blown out.
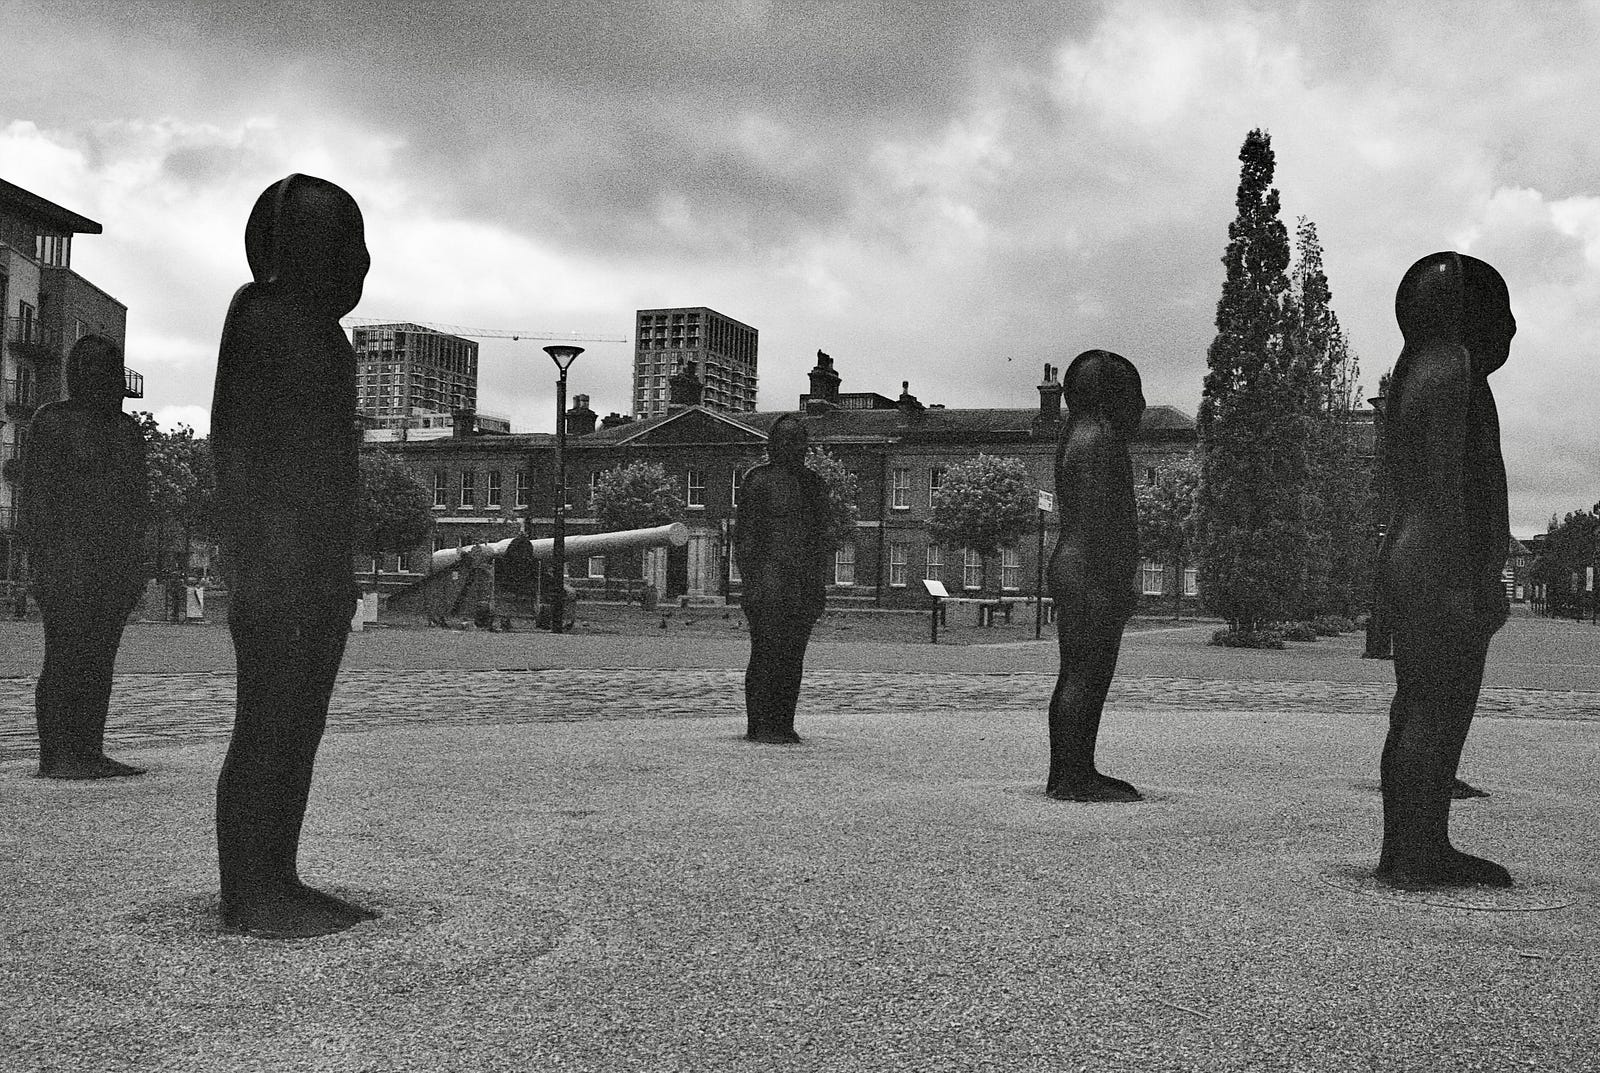
Despite my best efforts, the shadows are muddy and not detailed in this shot, taken on Fuji Neopan 400 at 1600 and pushed 2 stops in development. Pushing doesn't always work wonders for a given scene. Photo credit: Michael Elliott
Of course, these are just rough guidelines, and different films may require different amounts of compensation. You may also want to experiment with different degrees of compensation to achieve different results. For example, some photographers prefer to overexpose their black and white film by two stops or more and underdevelop it by 50% or more. This produces a very low-contrast image with almost no shadows or highlights, creating a dreamy or ethereal effect.
Colour Negative Film
Colour negative film is more complex than black and white film when it comes to exposure. It consists of three layers of emulsion, each sensitive to a different colour of light (blue, green, and red). Each layer also contains chemicals called dye couplers that react with the developer to form dyes that correspond to the opposite colour (yellow, magenta, and cyan). When colour negative film is exposed to light, some of the silver halide crystals in each layer are converted into metallic silver, forming a latent image that is later developed into a visible image. The more light that reaches each layer, the more silver is formed, and the more dye is produced. The result is a negative image with an orange hue that needs to be inverted and colour-corrected to produce a positive image.
Colour negative film also has a wide exposure latitude, but not as wide as black and white film. It can tolerate some degree of overexposure or underexposure, but not without affecting the colour balance and saturation of the image. In general, colour negative film handles overexposure better than underexposure. Overexposing colour negative film can result in a more saturated and vibrant image with more detail in the shadows. Underexposing colour negative film can result in a more muted and dull image with less detail in the highlights.
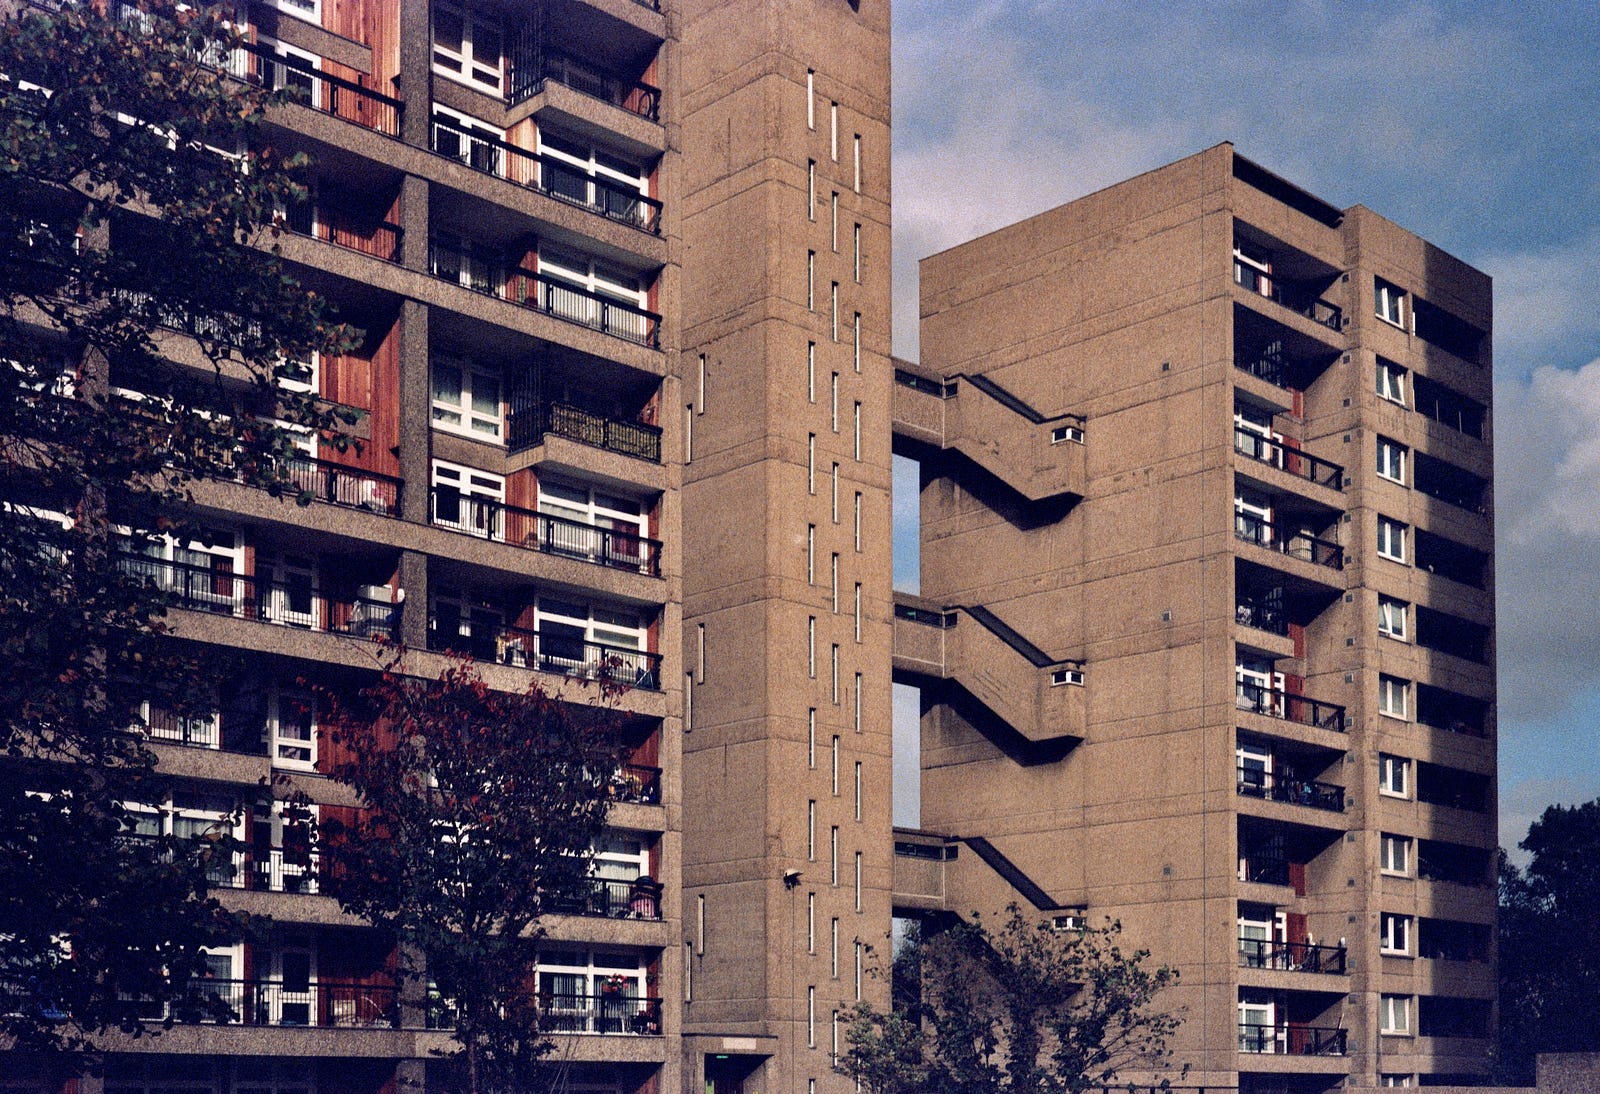
An example of pushing colour film gone right --- this is Fuji CDU-2, a colour positive duplicating film with a very low native ISO of 6. However, by cross processing in C41, and pushing 2 stops, I was able to eke out an EI of 200. The grain is quite noticeable, and the colour shifts were difficult to correct for, but it was possible. Detail throughout is good. Photo credit: Michael Elliott
However, overexposing colour negative film too much can also have some drawbacks. It can increase the grain and noise of the image, as well as introduce colour shifts and casts. For example, overexposing Kodak Portra 400 by more than three stops can make the image look more yellow and green, while overexposing Fujifilm Superia 400 by more than three stops can make the image look more red and magenta. These colour shifts can be corrected to some extent during scanning or printing, but they may also affect the overall mood and tone of the image.
On the other hand, some photographers deliberately overexpose their colour negative film to achieve a certain look. For example, overexposing Kodak Portra 400 by one or two stops can produce lovely pastel tones with smooth transitions and low contrast. This is especially suitable for portrait photography, as it can create a flattering and soft skin tone. Overexposing Fujifilm Superia 400 by one or two stops can produce vivid and punchy colours with high contrast. This is especially suitable for landscape photography, as it can create a dramatic and lively scene.
Unlike black and white film, colour negative film does not benefit much from compensated development. Changing the development time of colour negative film can affect the colour balance and saturation of the image, but not in a predictable or consistent way. Therefore, it is best to develop colour negative film according to the standard process (C-41) and adjust the exposure level during shooting or scanning.
Colour Slide Film
Colour slide film is the most difficult and demanding type of film when it comes to exposure. It consists of three layers of emulsion, each sensitive to a different colour of light (blue, green, and red). Each layer also contains chemicals called dye couplers that react with the developer to form dyes that correspond to the same colour (blue, green, and red). When colour slide film is exposed to light, some of the silver halide crystals in each layer are converted into metallic silver, forming a latent image that is later developed into a visible image. The more light that reaches each layer, the more silver is formed, and the less dye is produced. The result is a positive image on a transparent base that can be viewed directly or projected onto a screen.
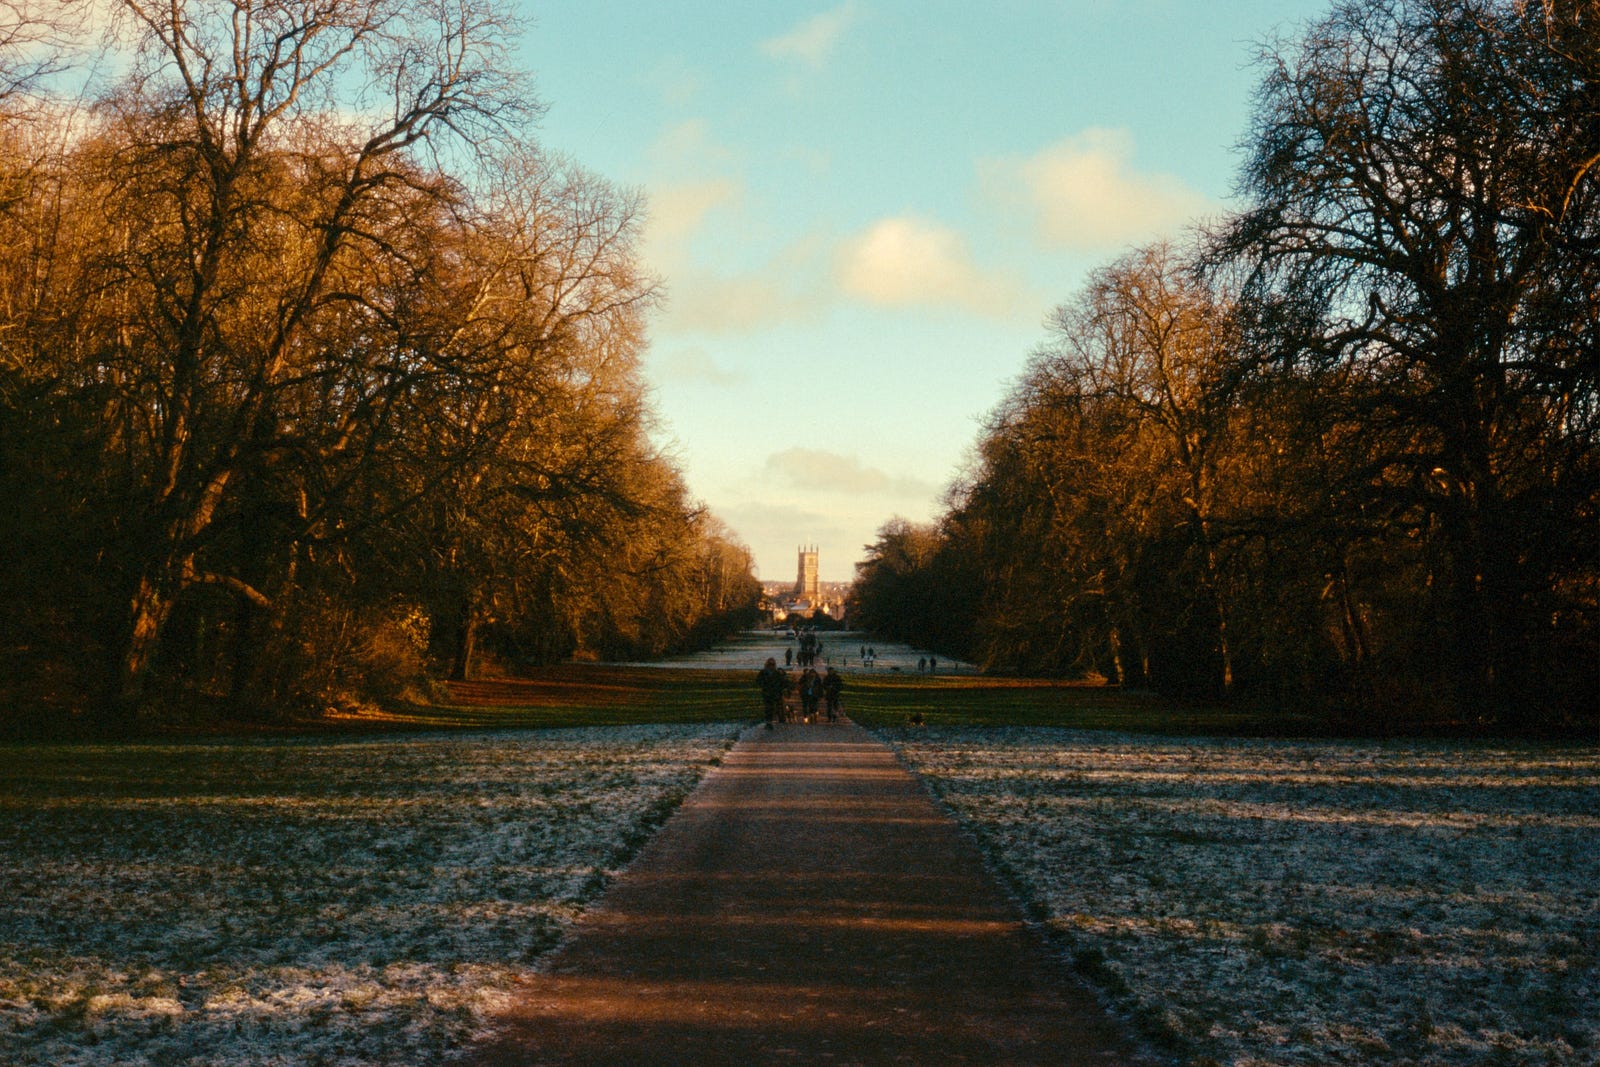
Taken on Fujichrome MS100/1000 --- a film deliberately formulated for push-processing, this was shot at EI200 and processed for 8m30s in the first developer for a 1 stop push. While it's not perfect, and I wouldn't try to push this film to EI 1000 (especially since it's long discontinued and the examples I found had expiration dates in the early 2000s), it's got a good colour balance and shadow detail is not completely absent. Photo credit: Michael Elliott
Colour slide film has a very narrow exposure latitude, which means that it can tolerate very little degree of overexposure or underexposure without losing detail or tonality. In general, colour slide film handles underexposure better than overexposure. Underexposing colour slide film can result in a darker and more contrasty image with more saturated colours. Overexposing colour slide film can result in a lighter and more washed-out image with less saturated colours.
However, underexposing or overexposing colour slide film too much can also have some drawbacks. It can reduce the dynamic range and detail of the image, as well as introduce colour shifts and casts. For example, underexposing Kodak Ektachrome 100 by more than one stop can make the image look more blue and cyan, while overexposing Fujifilm Velvia 50 by more than one stop can make the image look more yellow and orange. These colour shifts can be difficult or impossible to correct during scanning or printing, as they are inherent to the film itself.
Unlike black and white film, but like colour negative film, colour slide film does not benefit from compensated development either. Changing the development time of colour slide film can affect the density and contrast of the image, but not in a predictable or consistent way. Therefore, it is best to develop colour slide film according to the standard process (E-6) and adjust the exposure level during shooting. There were specific films that had been engineered to allow for some form of push processing compensation (Fujichrome MS100/1000) but these were rare and now discontinued. Other films, like Fujichrome Provia 400X (now discontinued) and 100F lend themselves better to an up-to-2-stop push, but it is much better to shoot these at their box speeds.
Conclusion
A s you can see, exposing film correctly is not a simple or straightforward task. It depends on many factors, such as the type of film, the lighting conditions, the subject matter, and the artistic vision. However, it is also not something that you need to obsess over or worry about too much. Film photography is not about getting it right in camera all the time. It is about experimenting with different techniques and effects, learning from your mistakes and successes, and enjoying the process and the results.
In this article, I have covered some of the basic principles of exposing black and white, colour negative, and colour slide film. We have also looked at how development of film can compensate for exposure errors, and how you can use a combination of overexposure or underexposure and compensated development to achieve specific artistic effects. I hope that this article has given you some useful information and inspiration for your next film photography project.
If you enjoyed this, please do consider subscribing to Michael's weekly newsletter. It has lots more blog articles, photo features and more.
Article source: https://articlebiz.comRate article
Article comments
There are no posted comments.
Related articles
- NOSEBLEEDS, NEIGHBOURS, AND NEW YORK: HEIDI'S ARTISTIC RESURRECTION
- Top-Tier Real Estate Videography in NV: Boost Your Sales with Stunning Visuals
- Find In-Home Senior Care Services Near You in Alabama: Expert Respite, Personal, and Dementia Care Solutions
- Elevate Your Entryway with a Statement Wall: Carved Wood Panels
- What Are the Comprehensive Senior Home Care Services in Prichard, AL for Trusted Respite and Dementia Care?
- Electronic Document Management System: Efficiency and Challenges in the Digital Age
- Best Air Conditioning Repair Service Queen Creek Florence Arizona
- How to Choose an Airport Transfer Service: A Guide for Stress-Free Travel
- Wirral Private Airport Transfers: Comfort, Convenience, and Class
- North Wirral Airport Transfers by Ventus: Trusted Travel from Coast to Terminal
- The Importance of Reliable Airport Transfer Services
- Find the Perfect Fireplace for Your Home
- The Pros, Cons, and Ethical Dilemmas of Employee Computer Activity Monitoring Software
- Over 40 and Ready to Mingle? Why Now Is the Best Time to Start Dating Again
- Whu buy an apartment in Manilva
- Best Electric Humidor: Top Picks for Effortless Cigar Storage in 2025
- They Tried Magic Mushrooms for Mental Health
- Sacred Balance: 5 Elements Chakra Healing with Mala Beads & Yantras
- Rooted in Heritage: The Rich Ranch Aesthetic with Antique Doors and Rustic Soul
- Carved Floral Barn Doors: A Shabby Chic Statement for Your Pantry & Laundry Room
- Confusion and Anxiety: Lincoln and the Days Before the Civil War
- How Website Maintenance & Security Protects Your Online Presence
- 5 Best Mortgage Brokers for Bad Credit UK
- 7 Best Mortgage Brokers in Derby
- Maximising Space and Efficiency: The Power of Dual-Purpose Fitness Machines
- Types of Eco Friendly Food Packaging
- Where Can You Find Lighting Stores in Brampton to Illuminate Your Home & Office?
- What Are the Top Real Estate Videography and Photography Services in CA?
- The Rise of Employee Performance Monitoring Tools: Balancing Productivity and Privacy
- Trends in Travel Security Technology
